
Win10终端神器——Windows Terminal 与 MSYS2 MinGW64 集成记
How to Install Zsh and Antibody(or Oh My Zsh) on Windows 10 without Windows Subsystem for Linux
老灯之前在公众号文章分享过《打造windows终端神器——MSYS2 MinGW64 与 Cmder 集成记【2020-03-03更新】》
然后我群里有朋友跟我说起了Windows Terminal, 都2020年了,还用Cmder那一套,是不是有点过时了?
然后我花了一些时间了解了下巨硬开源的这个Terminal.
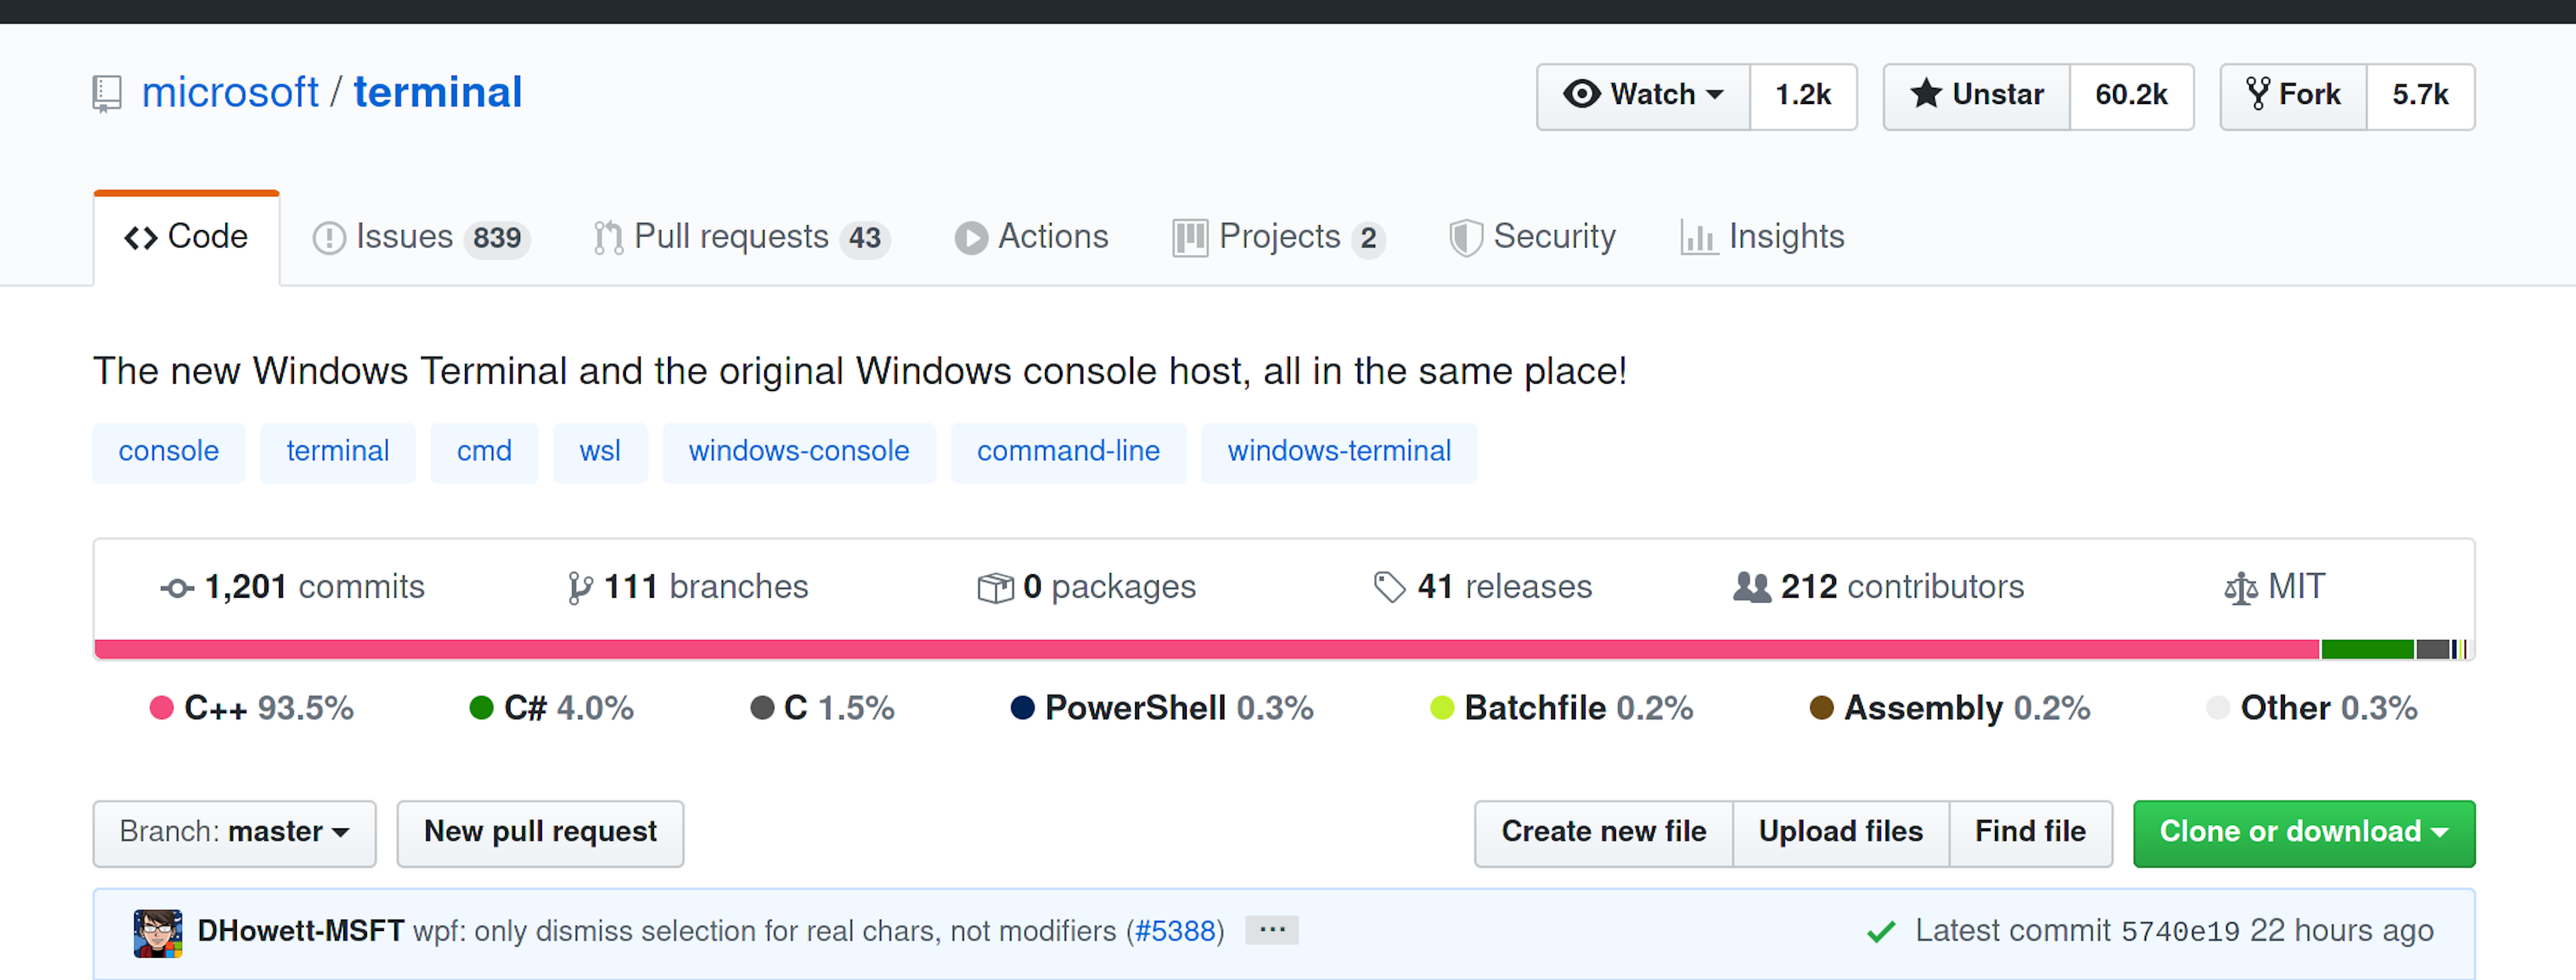
60K star, 5.7K fork, 大家的期待应该还是蛮高的,毕竟cmd那个东西那么难用.
主要的开发语言为C++, 执行效率应该不用怀疑。
在github页面是这样描述自己的:
Windows Terminal是一个新的,现代的,功能丰富的,高效的终端应用程序,适用于命令行用户。 它包括许多最经常使用的Windows命令行社区包括对标签的支持,丰富的文字,全球化,可配置,主题及造型,及其它功能。 该终端还需要满足我们的目标和措施,以确保它的快速,高效,并且不消耗大量的内存或电能。
这里要注意的是, Windows Terminal 它是一个终端,它不是一个shell, 所以它并不是替换cmd.exe或PowerShell的。
它默认的profiles已经自带了cmd.exe和PowerShell的支持,因此本文关注的重点肯定也不是这些。要不然也没有必要写文章分享了。
本文的重点依旧是 MSYS2 + zsh.
注意: 由Cmder切换成Windows Terminal,它不会知道我们复制的是Windows路径但是要粘贴给zsh用, 因此不会有自动的Win到Linux的路径转换。
Windows Terminal里复制和粘贴已经默认内置快捷键:
复制: ctrl + shift + c
粘贴: ctrl + shift + v 或 鼠标右击
1. 安装Windows Terminal
推荐的安装方式是从 Microsoft Store 安装Windows Terminal
注意系统要求: Windows 10 version 18362.0 or higher
除了从store安装,也可以选择手动安装的方式,具体在github有说明: https://github.com/microsoft/terminal#other-install-methods
2. 安装MSYS2
这一部分基本上跟我公众号Cmder那篇文章保持一致。
为什么要用MSYS2 ? 因为它对开发者很友好, 在win下编译东西非常方便。 并且它使用了流行的Linux发行版ArchLinux的pacman包管理,安装和升级安装都非常方便。 算下来,老灯用ArchLinux将近有10多年了,因此,看到这个Windows上的pacman简直是两眼放光。
首先我们下载安装 MSYS2 https://www.msys2.org/ 安装主要有两点限制:
- MSYS2不能被安装到FAT*分区.
- MSYS2不支持Windows XP,也就是你的系统至少要是Win Vista 之后。
当然,我们现在用的是Win10,因此,这两个限制,基本上都可以忽略。
这里我们下载64位版本的, 为方便演示,我这里安装到 C:\msys64
2.1 MSYS2 镜像配置
国内如果直接通过msys2默认的源更新会相当慢,因此有必要配置一下国内镜像以加速下载.
进入 C:\msys64\etc\pacman.d , 下面有3个文件:
mirrorlist.mingw32
mirrorlist.mingw64
mirrorlist.msys
分别编辑其内容,在原文件的第一个 Server = 前一行插入中国镜像配置,结果如下:
mirrorlist.mingw32 内容如下:
##
## 32-bit Mingw-w64 repository mirrorlist
##

## Primary
## 清华大学软件镜像
Server = https://mirrors.tuna.tsinghua.edu.cn/msys2/mingw/i686/
## 中科大镜像
Server = http://mirrors.ustc.edu.cn/msys2/mingw/i686/
## msys2.org
Server = http://repo.msys2.org/mingw/i686/
Server = https://sourceforge.net/projects/msys2/files/REPOS/MINGW/i686/
Server = https://www2.futureware.at/~nickoe/msys2-mirror/mingw/i686/
Server = https://mirror.yandex.ru/mirrors/msys2/mingw/i686/
Server = https://mirrors.tuna.tsinghua.edu.cn/msys2/mingw/i686
Server = http://mirrors.ustc.edu.cn/msys2/mingw/i686
Server = http://mirror.bit.edu.cn/msys2/REPOS/MINGW/i686
mirrorlist.mingw64 内容如下:
##
## 64-bit Mingw-w64 repository mirrorlist
##

## Primary
## 清华大学软件镜像
Server = https://mirrors.tuna.tsinghua.edu.cn/msys2/mingw/x86_64/
## 中科大镜像
Server = http://mirrors.ustc.edu.cn/msys2/mingw/x86_64/
## msys2.org
Server = http://repo.msys2.org/mingw/x86_64/
Server = https://sourceforge.net/projects/msys2/files/REPOS/MINGW/x86_64/
Server = https://www2.futureware.at/~nickoe/msys2-mirror/mingw/x86_64/
Server = https://mirror.yandex.ru/mirrors/msys2/mingw/x86_64/
Server = https://mirrors.tuna.tsinghua.edu.cn/msys2/mingw/x86_64
Server = http://mirrors.ustc.edu.cn/msys2/mingw/x86_64
Server = http://mirror.bit.edu.cn/msys2/REPOS/MINGW/x86_64
mirrorlist.msys 内容如下:
##
## MSYS2 repository mirrorlist
##

## Primary
## 清华大学软件镜像
Server = https://mirrors.tuna.tsinghua.edu.cn/msys2/msys/$arch
## 中科大镜像
Server = http://mirrors.ustc.edu.cn/msys2/msys/$arch
## msys2.org
Server = http://repo.msys2.org/msys/$arch/
Server = https://sourceforge.net/projects/msys2/files/REPOS/MSYS2/$arch/
Server = https://www2.futureware.at/~nickoe/msys2-mirror/msys/$arch/
Server = https://mirror.yandex.ru/mirrors/msys2/msys/$arch/
Server = https://mirrors.tuna.tsinghua.edu.cn/msys2/mingw/$arch/
Server = http://mirrors.ustc.edu.cn/msys2/msys/$arch
Server = http://mirror.bit.edu.cn/msys2/REPOS/MSYS2/$arch
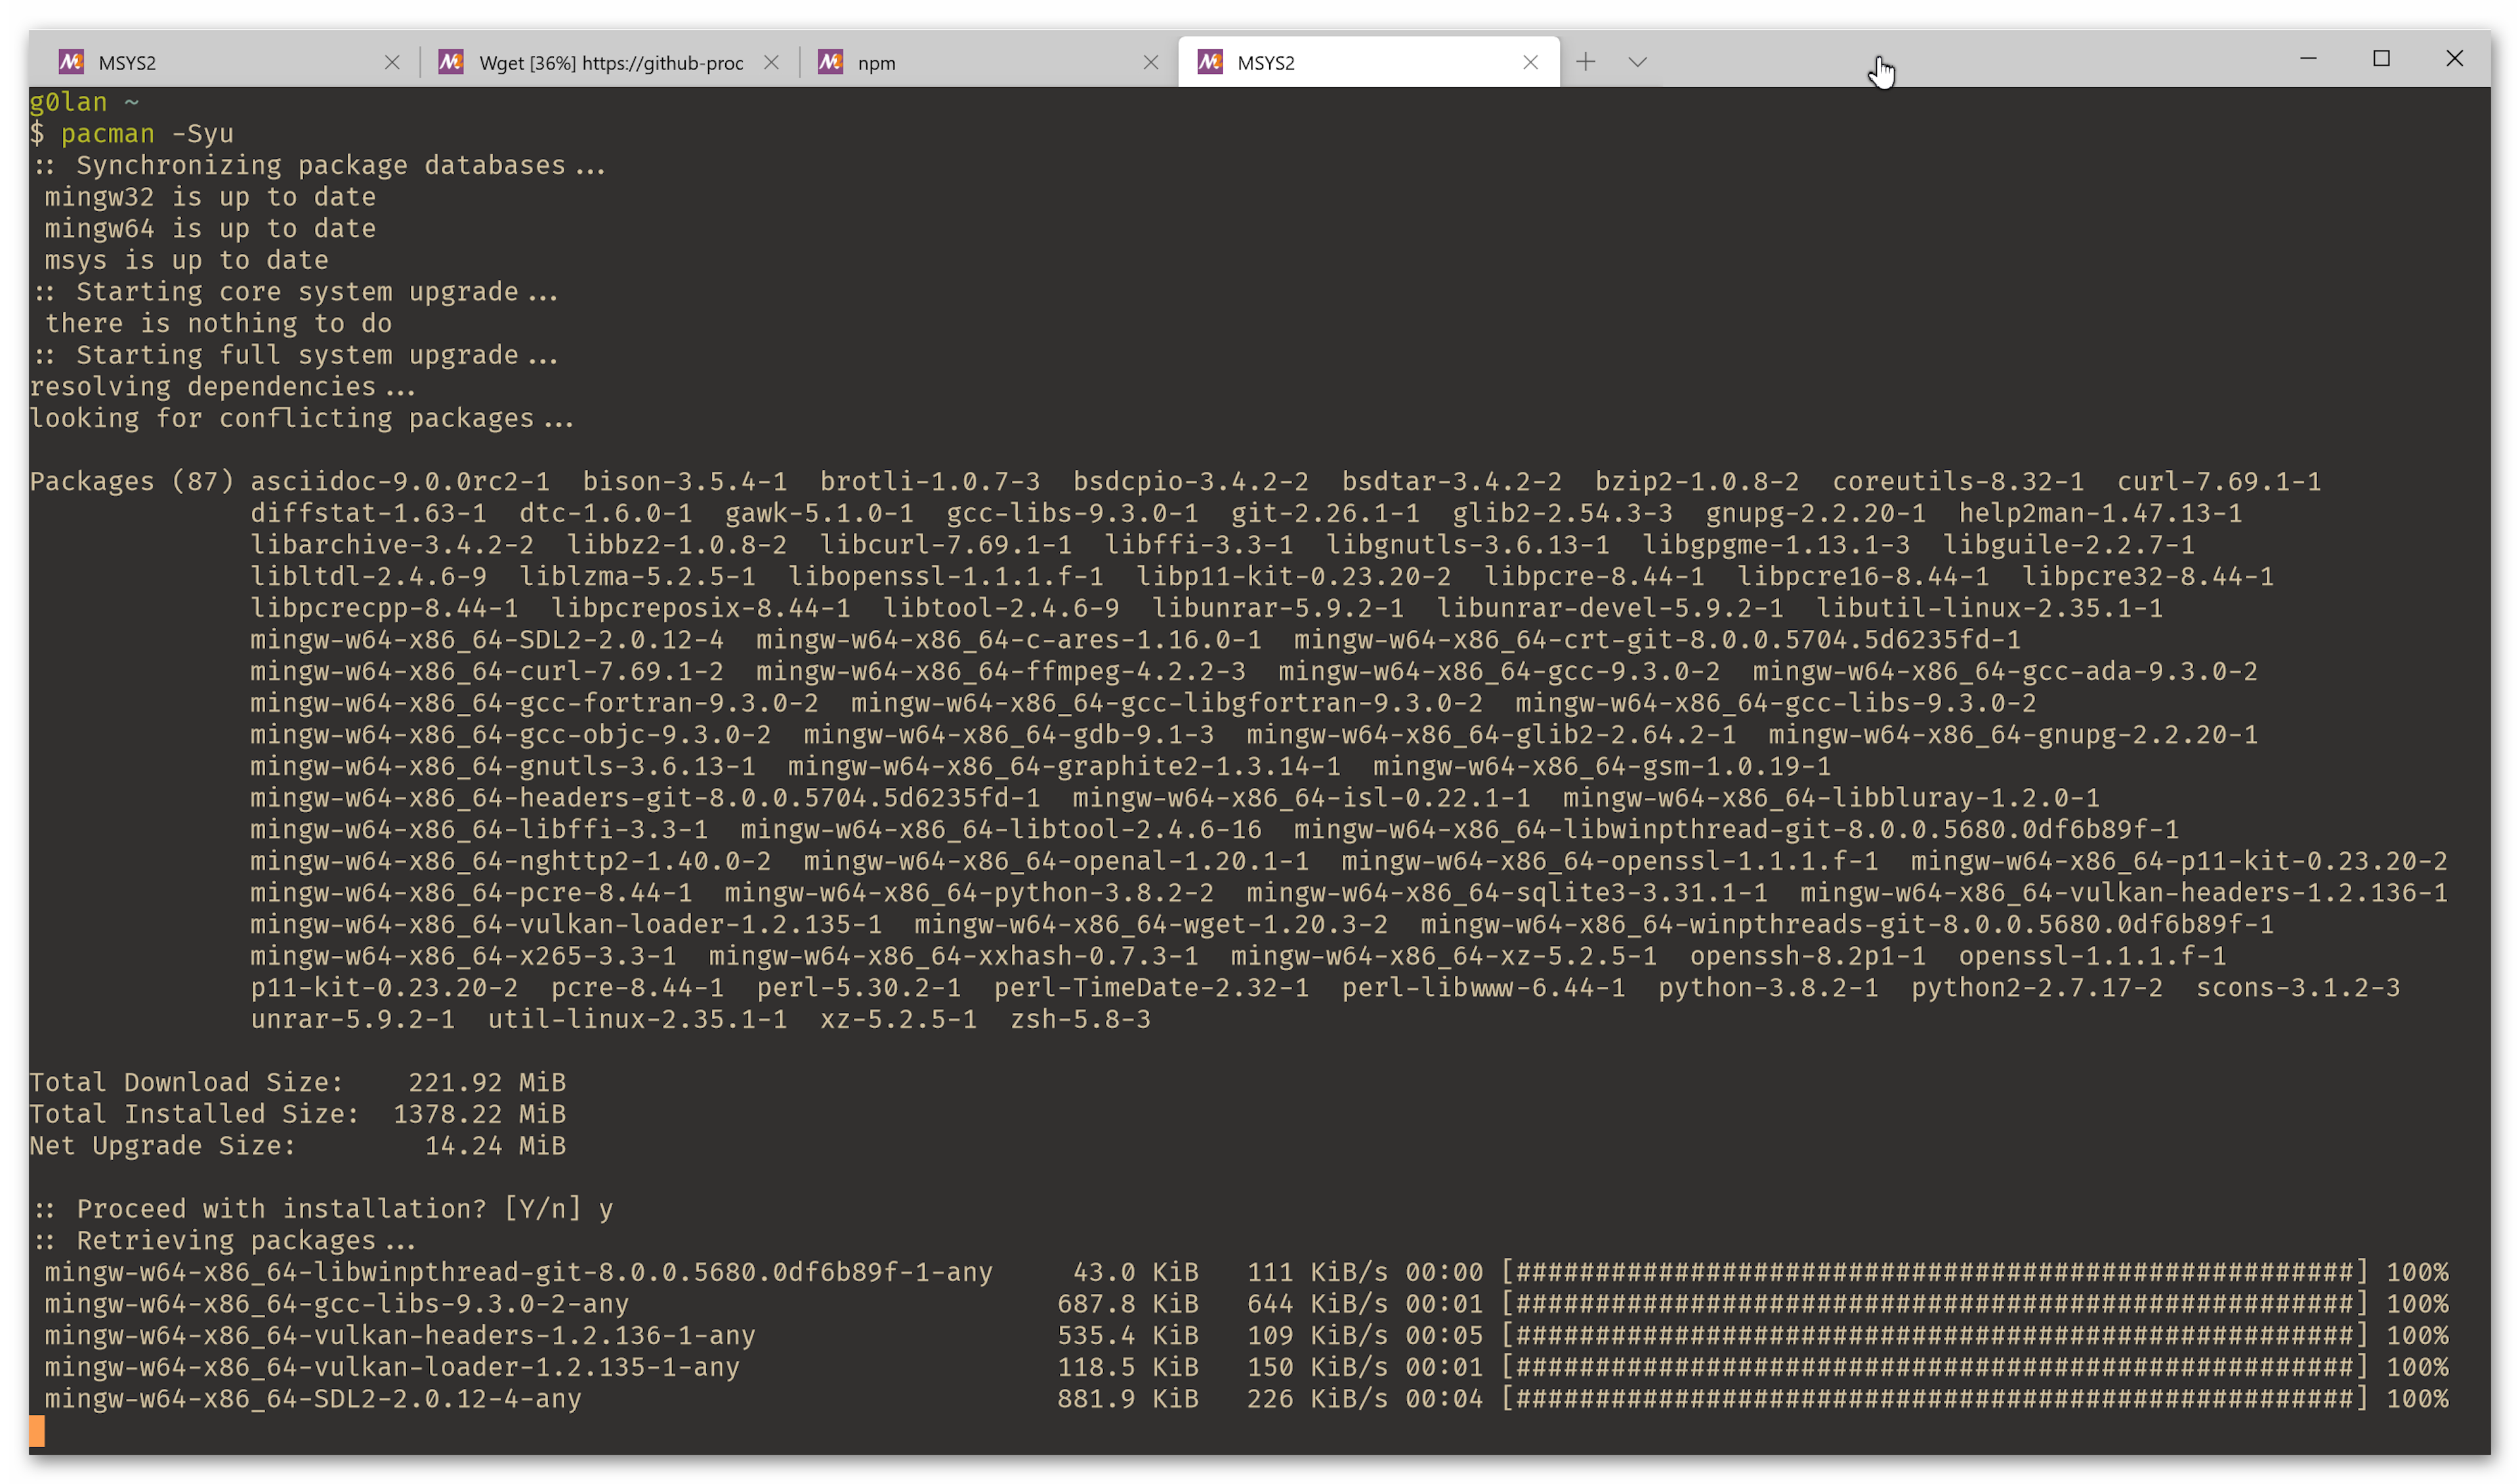
安装完, 修改好镜像之后,更新一下软件:
pacman -Syu
3. 安装git 和 zsh
由于git for windows使用了与原版msys2不兼容的底层库,(经过老灯长时间的使用), 发现通过pacman来安装git for windows的方式,容易导致一些问题,因此后面老灯都不使用pacman来安装git for windows了, 转而直接安装独立的git for windows.
尽管Git for Windows默认内置了一个 MSys2,单独安装git好像不太优雅?但是 —— 现在硬盘都是TB级别的了,谁还在乎这点空间?
但是使用单独的git for windows会带来另一个问题,由于git命令与当前shell(zsh.exe)处于两个不同的msys2环境中, 而这两个环境的底层库版本一般不同.
比如当我们需要在git 配置文件中配置netcat 作为ProxyCommand时,就会引发错误:
$ git fetch origin win
      0 [main] zsh (9972) C:\msys64\usr\bin\zsh.exe:
*** fatal error - cygheap base mismatch detected - 0x180331408/0x180317408.
This problem is probably due to using incompatible versions of the cygwin DLL.
因此,现在老灯建议,直接使用msys2提供的git兼容性更好.
安装方法:
pacman -S git
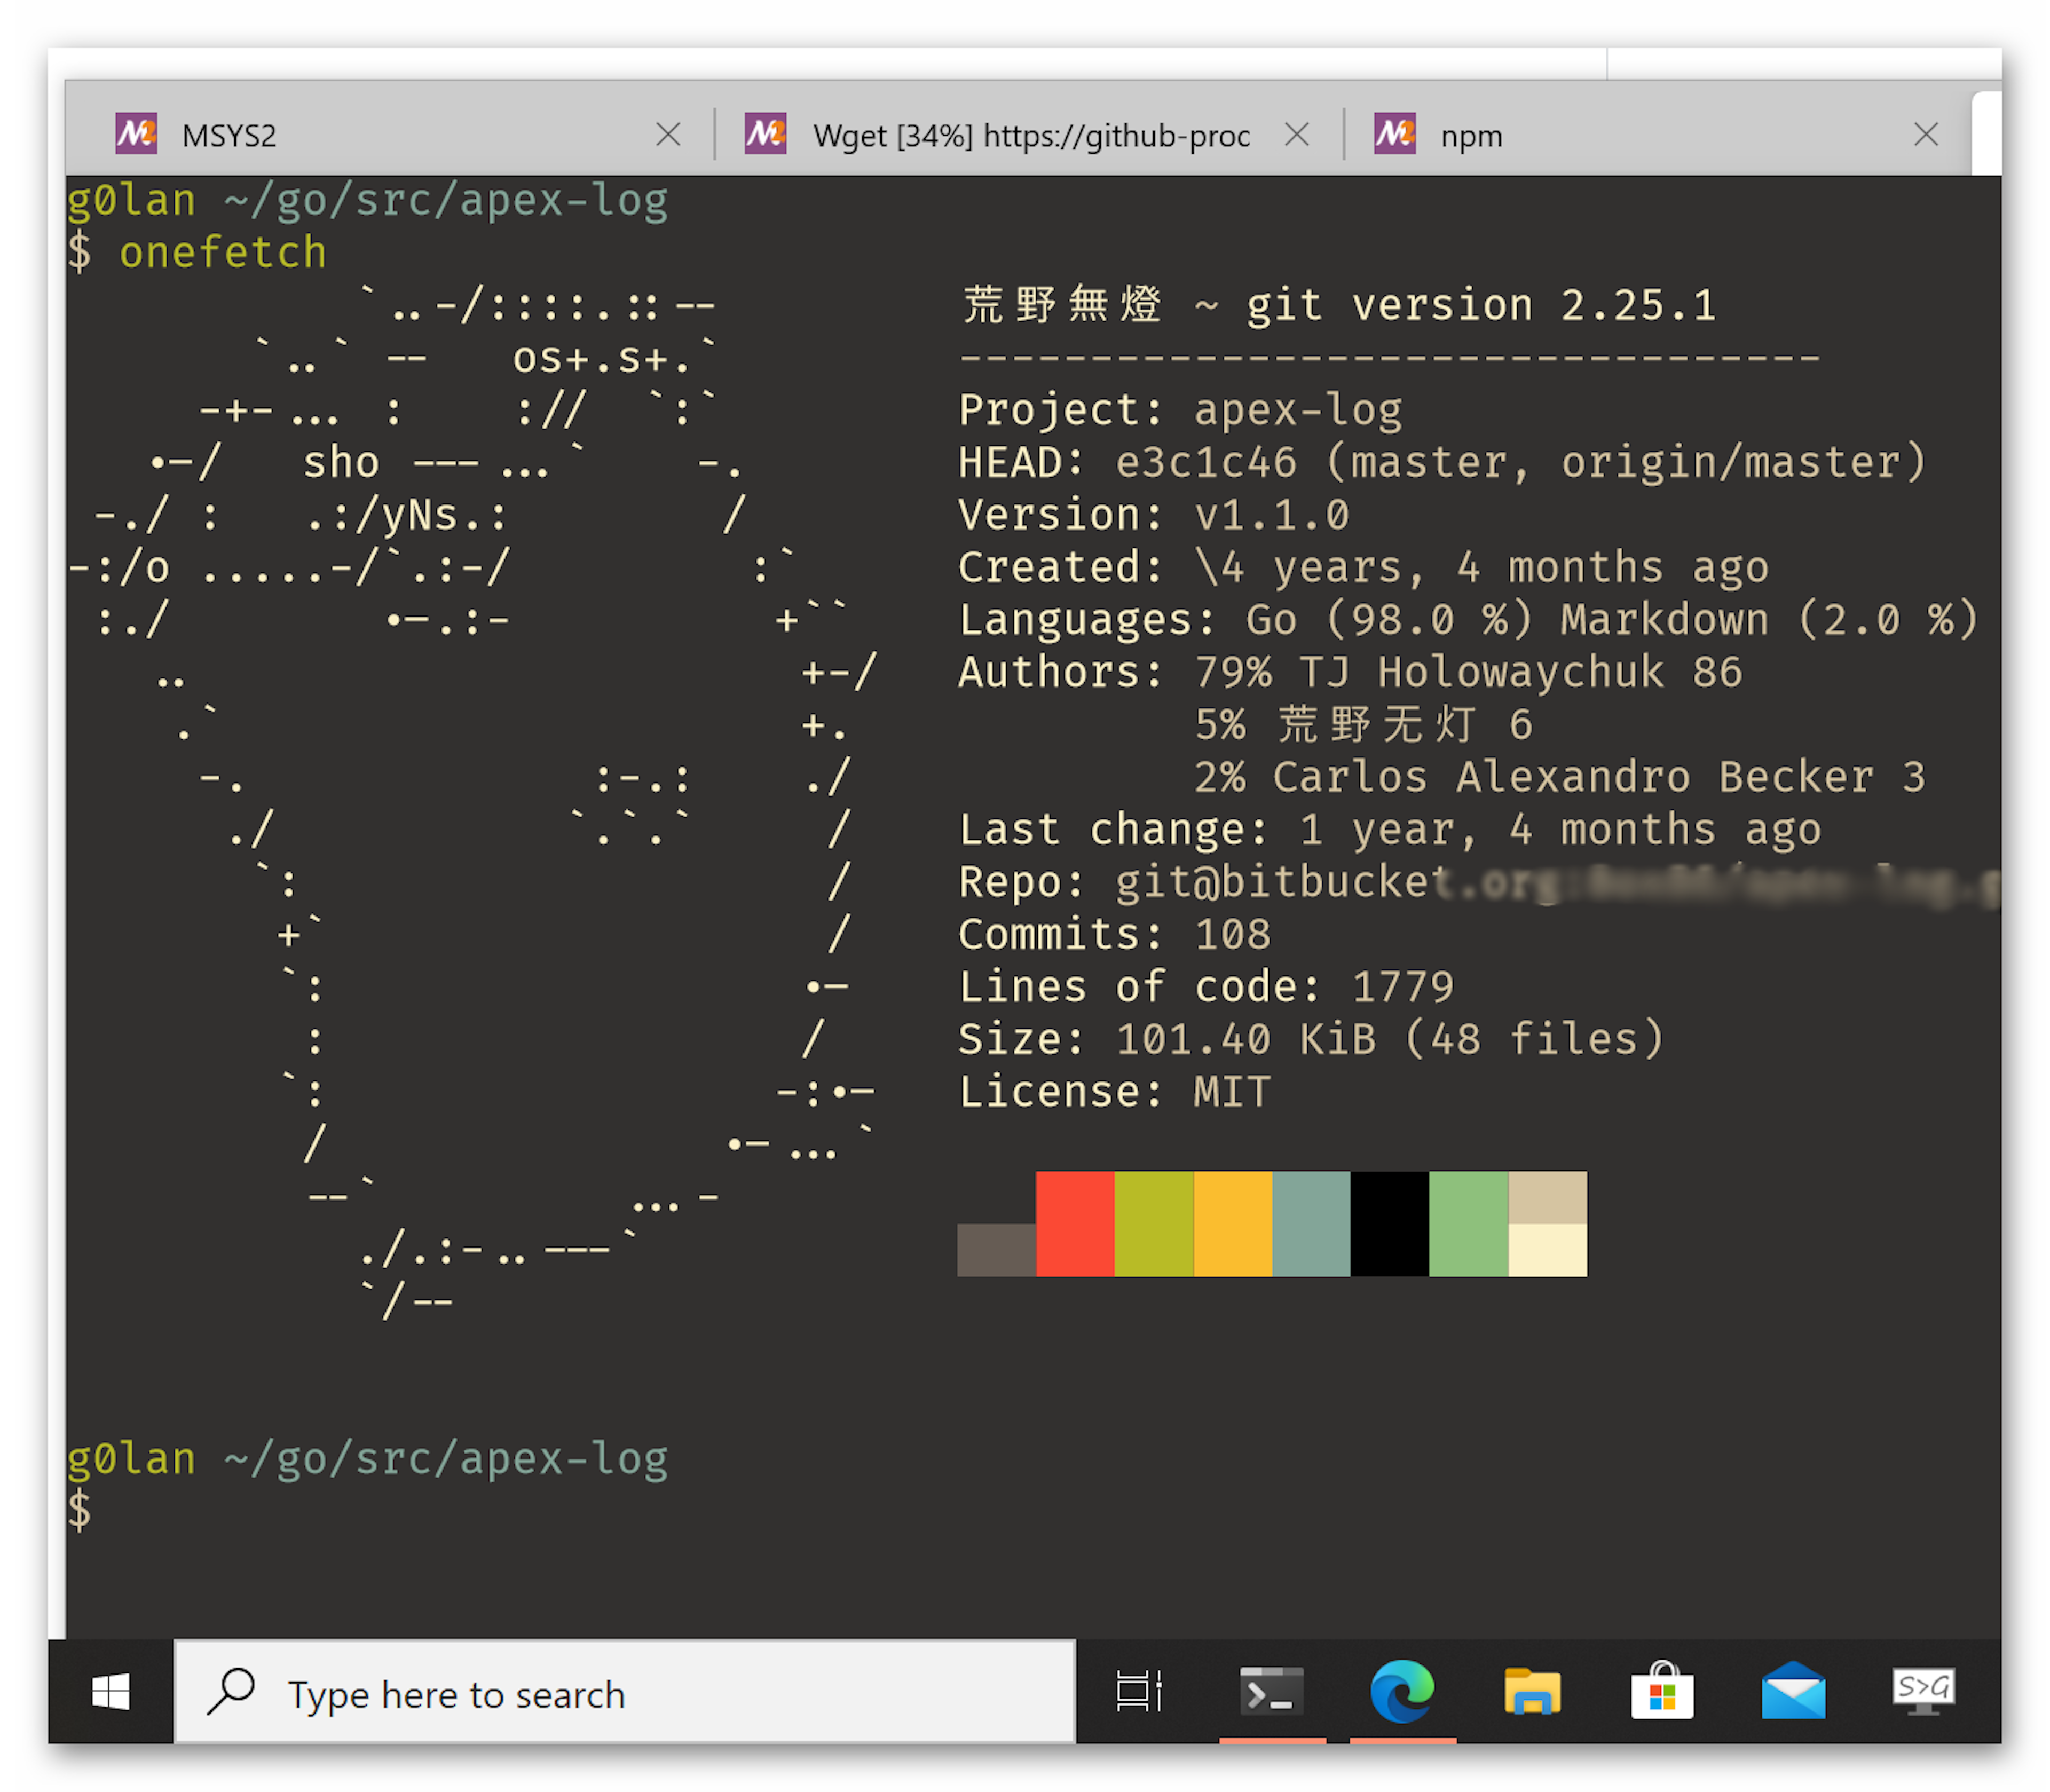
这里老灯还推荐一个git实用(装Bility)工具: https://github.com/o2sh/onefetch , 取名onefetch的原因, 可能是有一个叫neofetch的用于显示系统信息的工具吧,这个的运行效果跟neofetch非常神似,效果如下:
3.1 Git proxy配置
针对不同的协议,git使用不同的代理。
- 对于http/https协议,git可以直接配置全局代理:
这里假设本地的http代理地址为:http://127.0.0.1:7070
git config --global http.proxy http://127.0.0.1:7070
- 对于ssh协议,git无法直接配置proxy
我们要通过修改openssh客户端的配置文件 $HOME/.ssh/config:
Host github.com
  User git
  ProxyCommand nc -x 127.0.0.1:1080 %h %p

Host bitbucket.org
  User git
  ProxyCommand nc -x 127.0.0.1:1080 %h %p
另外不要忘记安装netcat, gnu的nc没有proxy参数(-x), 因此我们要选择openbsd版:
pacman -S openbsd-netcat
3.2 SSH要不要安装?
win10后面的版本基本上自带了openssh. 因此,我们可以直接在msys2 mingw64里使用ssh 这个命令, 如果你用which 查一下,就能发现它的位置是:
$ which ssh
/c/Windows/System32/OpenSSH/ssh
也就是 C:\Windows\System32\OpenSSH\ssh.exe
但是前面我们通过pacman安装git时会默认安装依赖openssh, 因此,openssh的ssh客户端会有比windows自带的优先级更高.
ssh 的配置目录默认是在用户家目录下的.ssh目录。
3.3 安装zsh
为什么是zsh? bash无疑是兼容性最好的,但是zsh可能是除bash外使用人最多的shell之一了。 github有一个非常有名的项目叫:ohmyzsh 可以让你用zsh用到爽翻天。 然后自然的叫出:oh, my zsh! 这可能就是项目名称的由来吧。
安装 zsh
pacman -S zsh
zsh安装好后,我们就可以切换到它了, 由于mingw64并不是真正的Linux环境,因此也不支持chsh 直接切换shell.
3.4 设置zsh为默认的shell
由于msys2 指定 MSYSCON 为 defterm 时默认是执行bash.exe, 我们简单地把 C:\msys64\msys2_shell.cmd 大概第5行的bash改成zsh即可:
set "LOGINSHELL=zsh"
3.5 MSYS2启用win原生链接
同样,编辑C:\msys64\msys2_shell.cmd,找到rem To activate windows native symlinks uncomment next line这一行, 即去掉 set MSYS=winsymlinks:nativestrict 前面的 rem 注释,变成:
set MSYS=winsymlinks:nativestrict
4. 等宽字体和Windows Terminal主题安装
4.1 JetBrains Mono字体下载安装
老灯之前是用购买的Eco Coding字段,后面换成了开源的Fira Code, 现在Jetbrains推出了非常给力的JetBrains Mono字体,老灯怎能不用?
下载建议直接去github: https://github.com/JetBrains/JetBrainsMono/releases
据老灯观察,官网更新没有github发布及时,比如当前官下载链接还是1.0.3, github已经是1.0.5了。
下载当前最新版:
https://github.com/JetBrains/JetBrainsMono/releases/download/v1.0.5/JetBrainsMono-1.0.5.zip
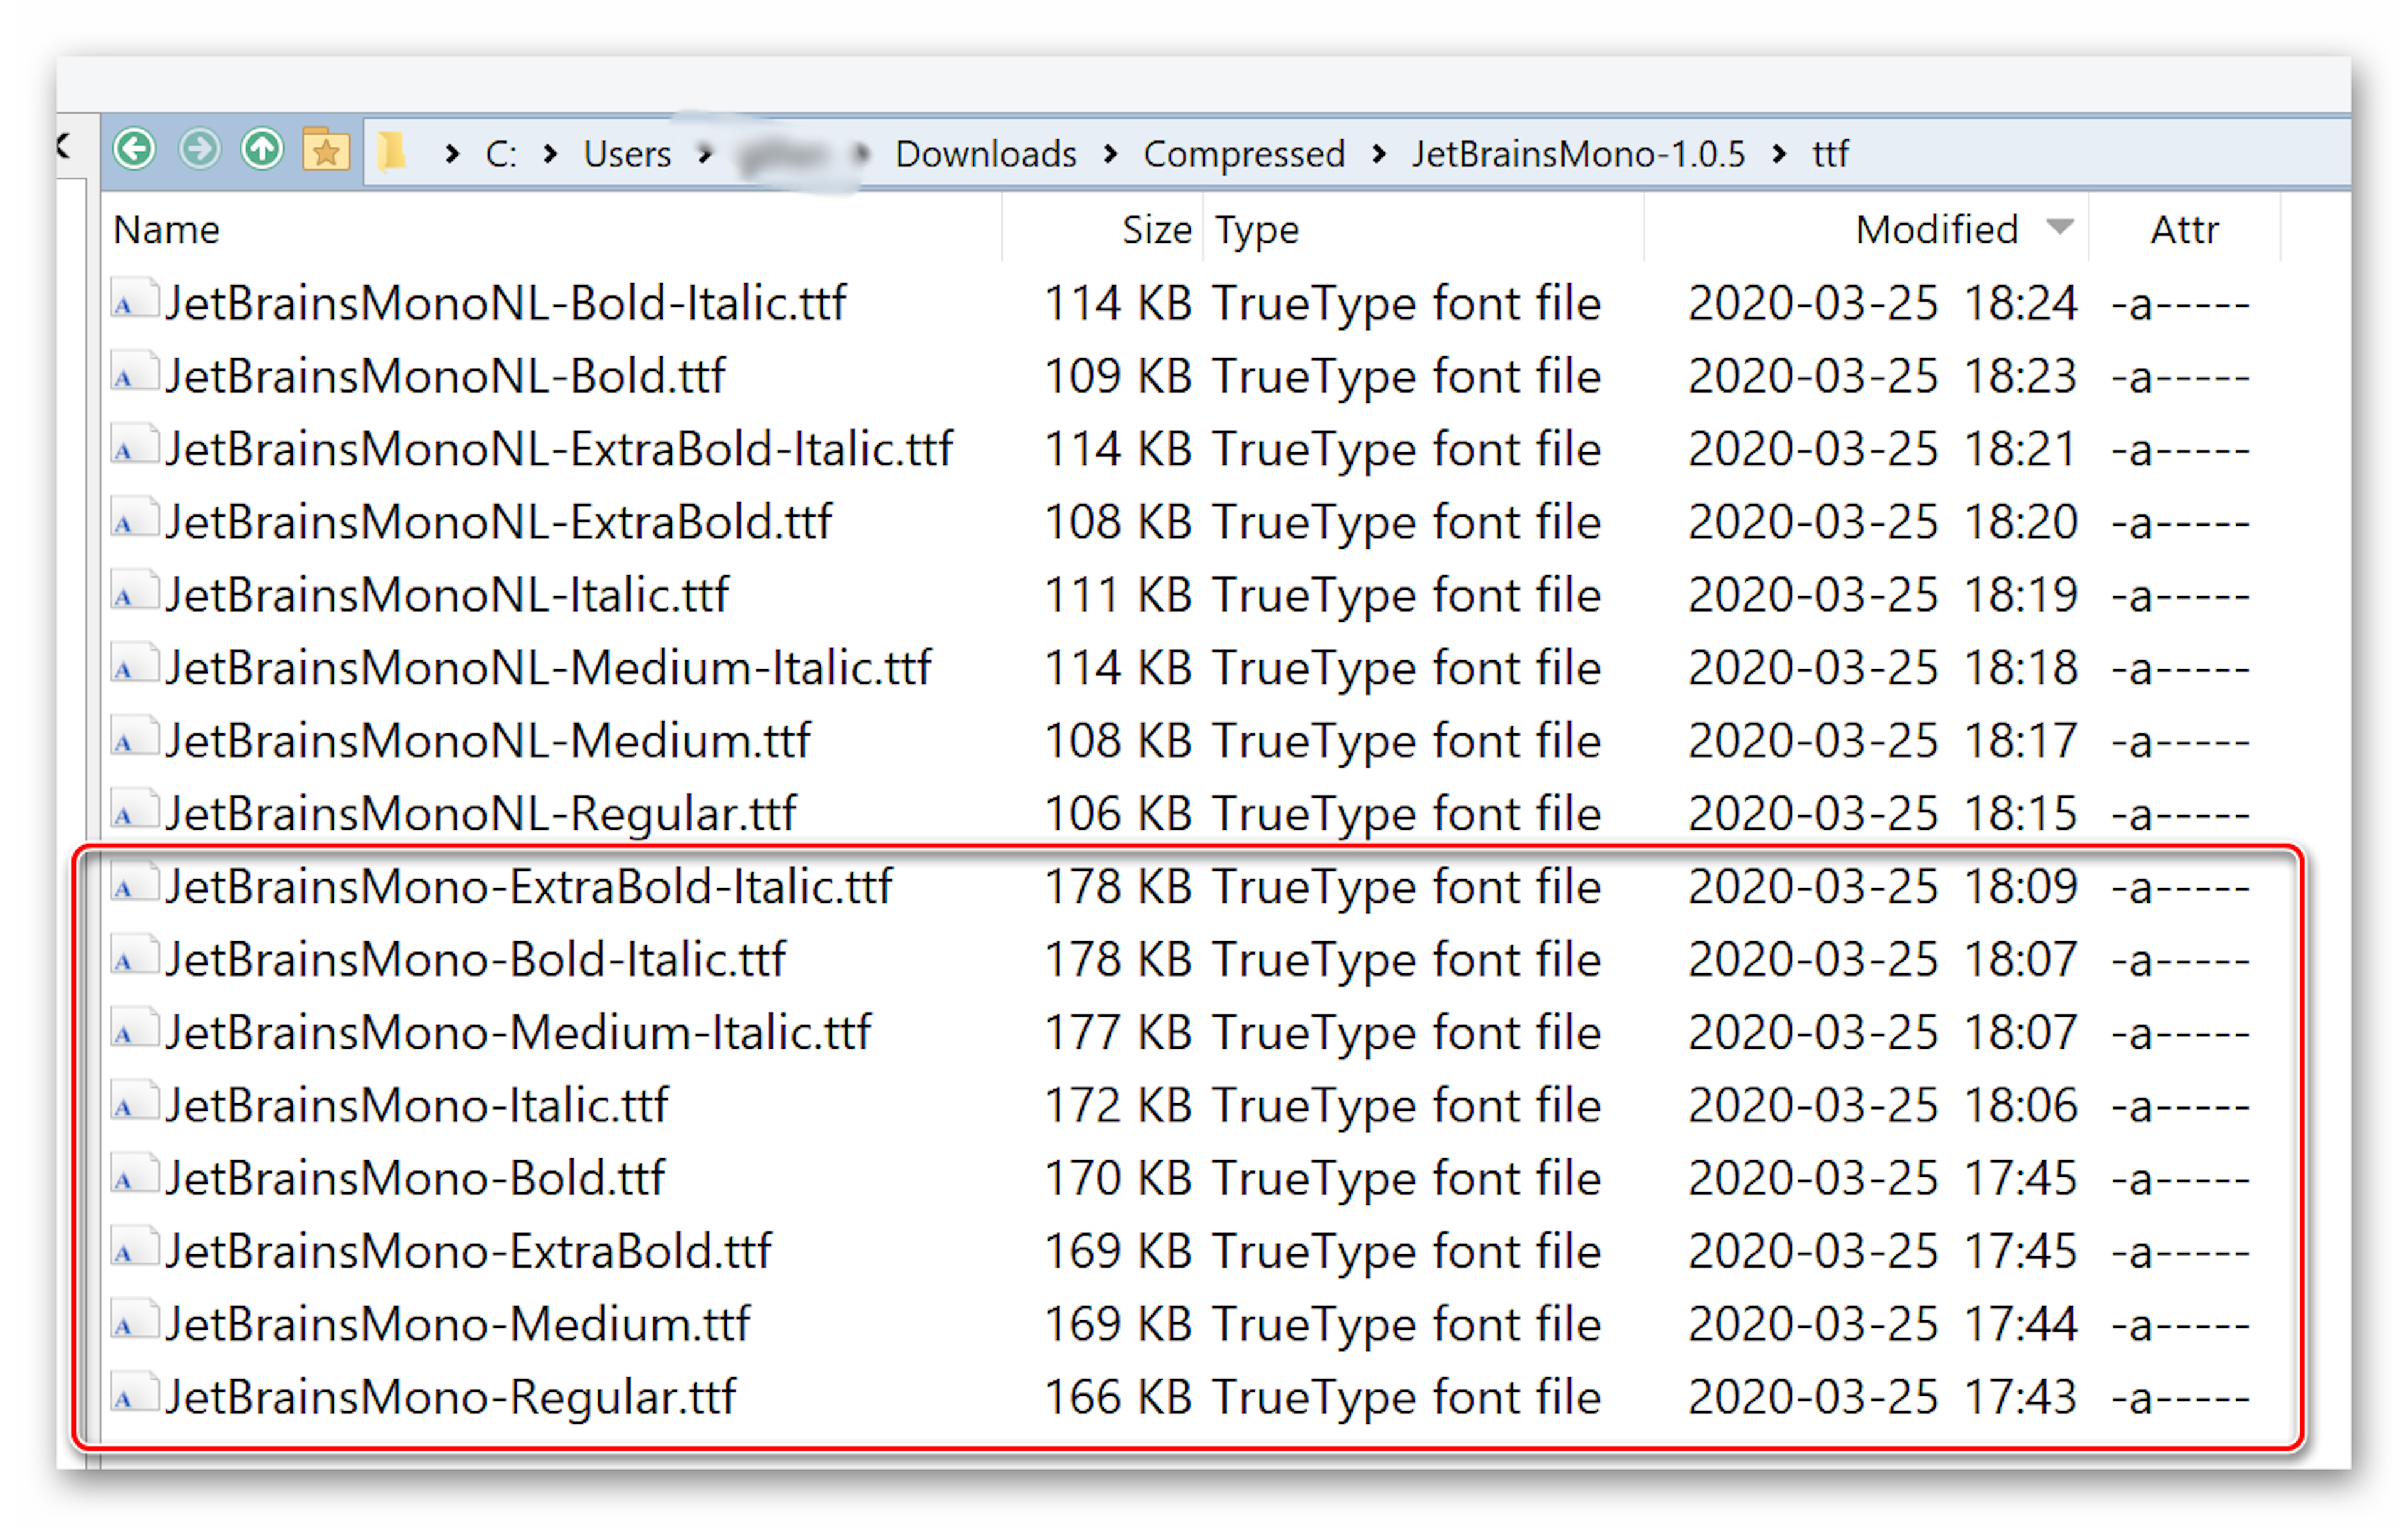
然后解压后会看到有很多目录(如下图),我们把所有不带NL(老灯猜测应该是No Ligatures的缩写)的字体都安装一次就OK。 无论是JetBrains Mono还是Fira Code,其Font Ligatures功能一直是一大特色,因此,选用这类字体, 当然还是要试一下带Ligatures版的。
4.2 Windows Terminal主题安装
Windows Terminal的配置文件位置比较隐蔽,为:
C:\Users\你的用户名\AppData\Local\Packages\Microsoft.WindowsTerminal_8wekyb3d8bbwe\LocalState
如果在MSYS2里面,我们要把Windows路径自己翻译成Linux的:
/c/Users/你的用户名/AppData/Local/Packages/Microsoft.WindowsTerminal_8wekyb3d8bbwe/LocalState
当然这里我们并不需要直接cd到这个目录编辑这个文件。直接在Windows Terminal的顶部菜单就可以选择编辑配置。
老灯一直比较喜欢gruvbox 这个配色,因此这里也以gruvbox为例。
编辑配置的时候,你会注意到有这么一行// Add custom color schemes to this array,表示我们可以在schemes这个 数组里加自定义的配色。这里老灯加的是Gruvbox dark, soft这个配色。
    // Add custom color schemes to this array
    "schemes": [
        // Base 16 Gruvbox dark, soft 256 Color Configuration - Windows Terminal
        // Colors made by Dawid Kurek ([email protected]), morhetz (https://github.com/morhetz/gruvbox)
        {
            "name": "Gruvbox dark, soft",
            "background": "#32302f",
            "foreground": "#d5c4a1",
            "black": "#32302f",
            "red": "#fb4934",
            "green": "#b8bb26",
            "yellow": "#fabd2f",
            "blue": "#83a598",
            "magenta": "#d3869b",
            "cyan": "#8ec07c",
            "white": "#d5c4a1",
            "brightBlack": "#665c54",
            "brightRed": "#fb4934",
            "brightGreen": "#b8bb26",
            "brightYellow": "#fabd2f",
            "brightBlue": "#83a598",
            "brightMagenta": "#d3869b",
            "brightCyan": "#8ec07c",
            "brightWhite": "#fbf1c7"
        }
    ],
5. 增加MSYS2 profile
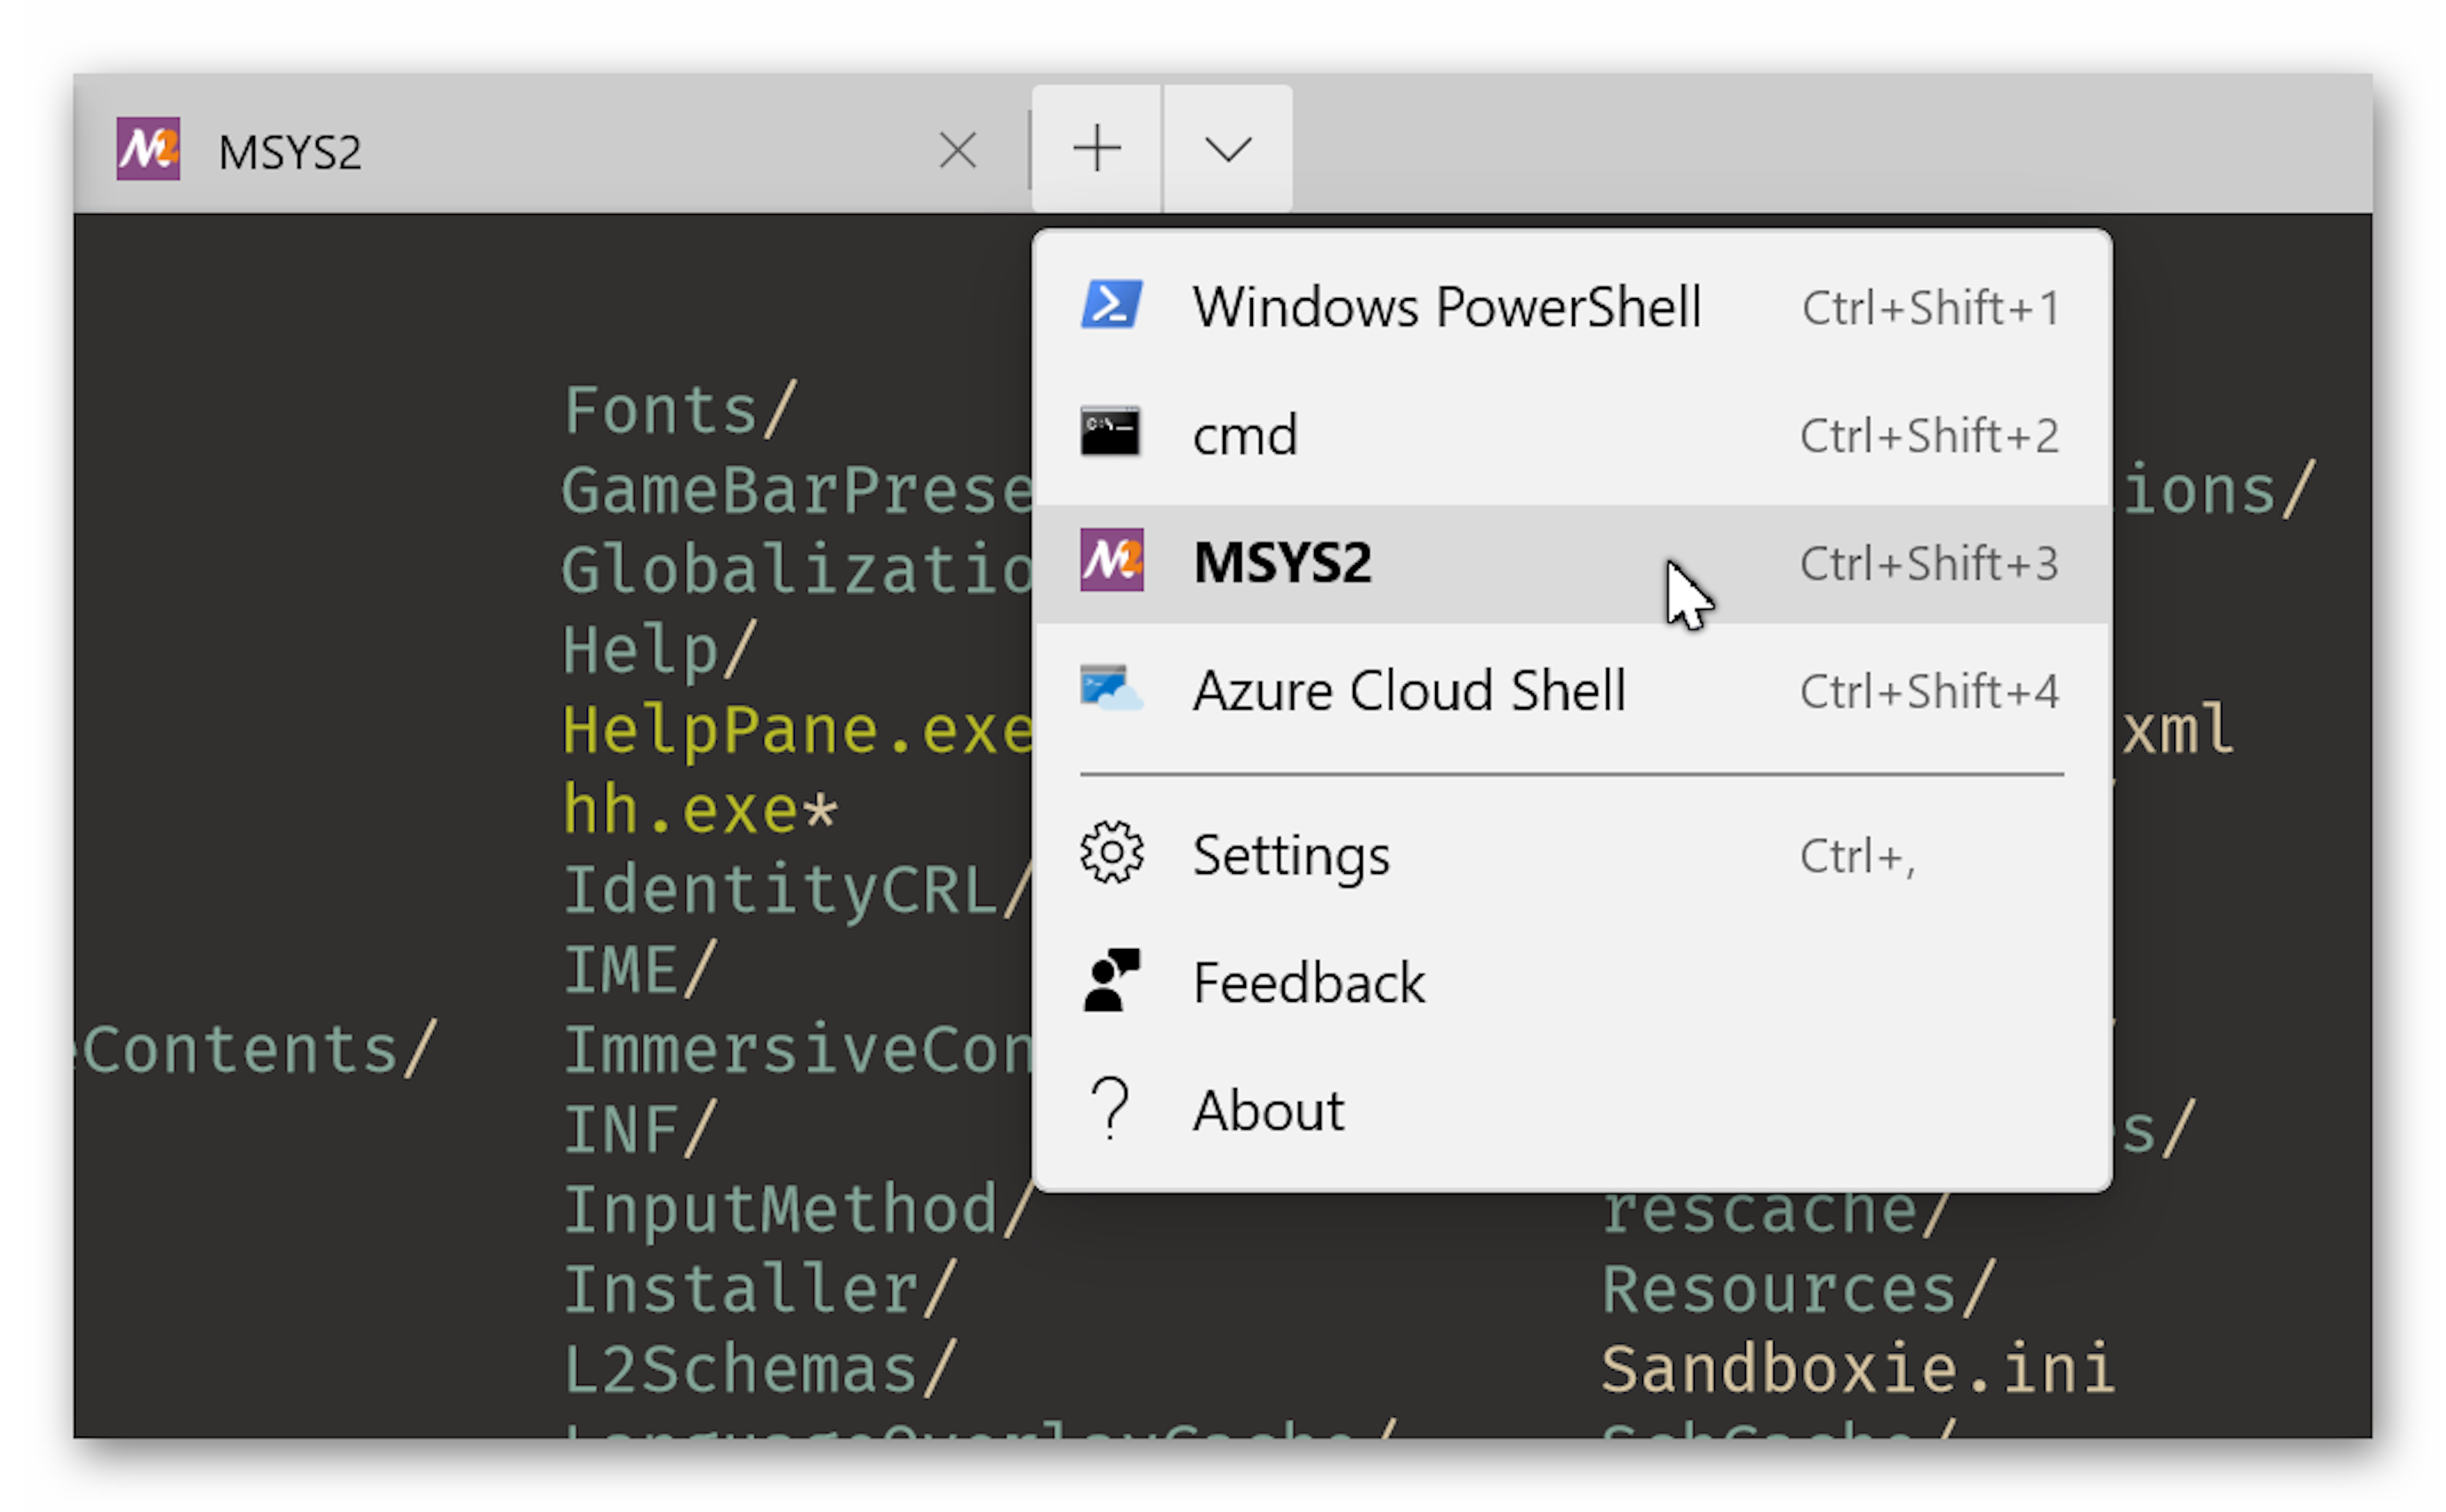
直到现在,你在Windows Terminal新建tab, 还是发现不能打开MSYS2, 也没有这个选项,所以我们要把MSYS2加上。
我们加一个MSYS2配置吧,配置大概如下, 注意这里的name, guid, startingDirectory,fontFace, commandline 和 colorScheme, 这里的guid我直接用在线工具生成的,比如 https://www.guidgenerator.com/online-guid-generator.aspx
{
    "acrylicOpacity" : 0.5,
    "closeOnExit" : true,
    "colorScheme": "Gruvbox dark, soft", //Choose your color scheme here
    "commandline" : "C:/msys64/msys2_shell.cmd -defterm -no-start -use-full-path -here -mingw64",
    "cursorColor" : "#FD9D4F",
    "cursorShape" : "filledBox",
    "fontFace" : "JetBrains Mono",
    "fontSize" : 12,
    "guid" : "{8fc27f7a-7532-4e48-97cf-7d5df4cc40f0}",
    "historySize" : 9001,
    "icon": "C:/msys64/msys2.ico",
    "name" : "MSYS2",
    "padding" : "0, 0, 0, 0",
    "snapOnInput" : true,
    "startingDirectory" : "C:/Users/hacklog",
    "useAcrylic" : false
},
设置为默认profile:
"defaultProfile": "{8fc27f7a-7532-4e48-97cf-7d5df4cc40f0}",
好了, 鉴于改动还是有一些的,因此老灯这里也提供一下我的完整的配置文件下载(右击另存为):
commandline 即新建tab时如果选的这个profile,要启动什么命令。
set MSYSTEM=MINGW64 & set MSYSCON=defterm & set MSYS2_NOSTART=yes & set MSYS2_PATH_TYPE=inherit & set CHERE_INVOKING=1 “翻译” 成 msys2_shell.cmd 的参数分别是: -mingw64 -defterm -no-start -use-full-path -here
细心的朋友就会发现,这实际上跟我公众号里Cmder那篇文章中的参数有些类似。 -mingw64 告诉 MSYS2 这个启动脚本,我们要启动的是mingw64, 不是mingw32, 也不是默认的msys2. -defterm 表示要启动的是bash,当然前面我们已经通过hacking方法让它默认变成了zsh了。 -no-start 表示不通过start命令来启动(因为这地弹出一个新的黑框框窗口,而我们的目的是要在Windows Terminal里跑的) -use-full-path 或 set MSYS2_PATH_TYPE=inherit 表示,我们在mingw64下面的时候, PATH环境变量的值继承自windows系统的环境变量。 -here 就是set CHERE_INVOKING=1的意思。 set CHERE_INVOKING=1 这是一个神奇的选项! 这个一定要设置. 不然我们设置的默认启动目录 参数对MSYS2 MinGW64会不生效. (关于这一点,我刚开始也是折腾了好久, 直到后来看到了zyzyz的文章)
在Cygwin下面,如果CHERE_INVOKING 环境变量没有定义, Cygwin 会 cd到家目录作为启动目录, 设置 CHERE_INVOKING 为1 可以阻止这个行为. 似乎MSYS2 借用了这个技巧,因此我们可以直接使用这个.
想了解更多详情,可以查阅: https://conemu.github.io/en/StartupDir.html 和 https://conemu.github.io/en/CygwinStartDir.html
所以,这就是为什么我们上面写的commandline 的值是C:/msys64/msys2_shell.cmd -defterm -no-start -use-full-path -here -mingw64
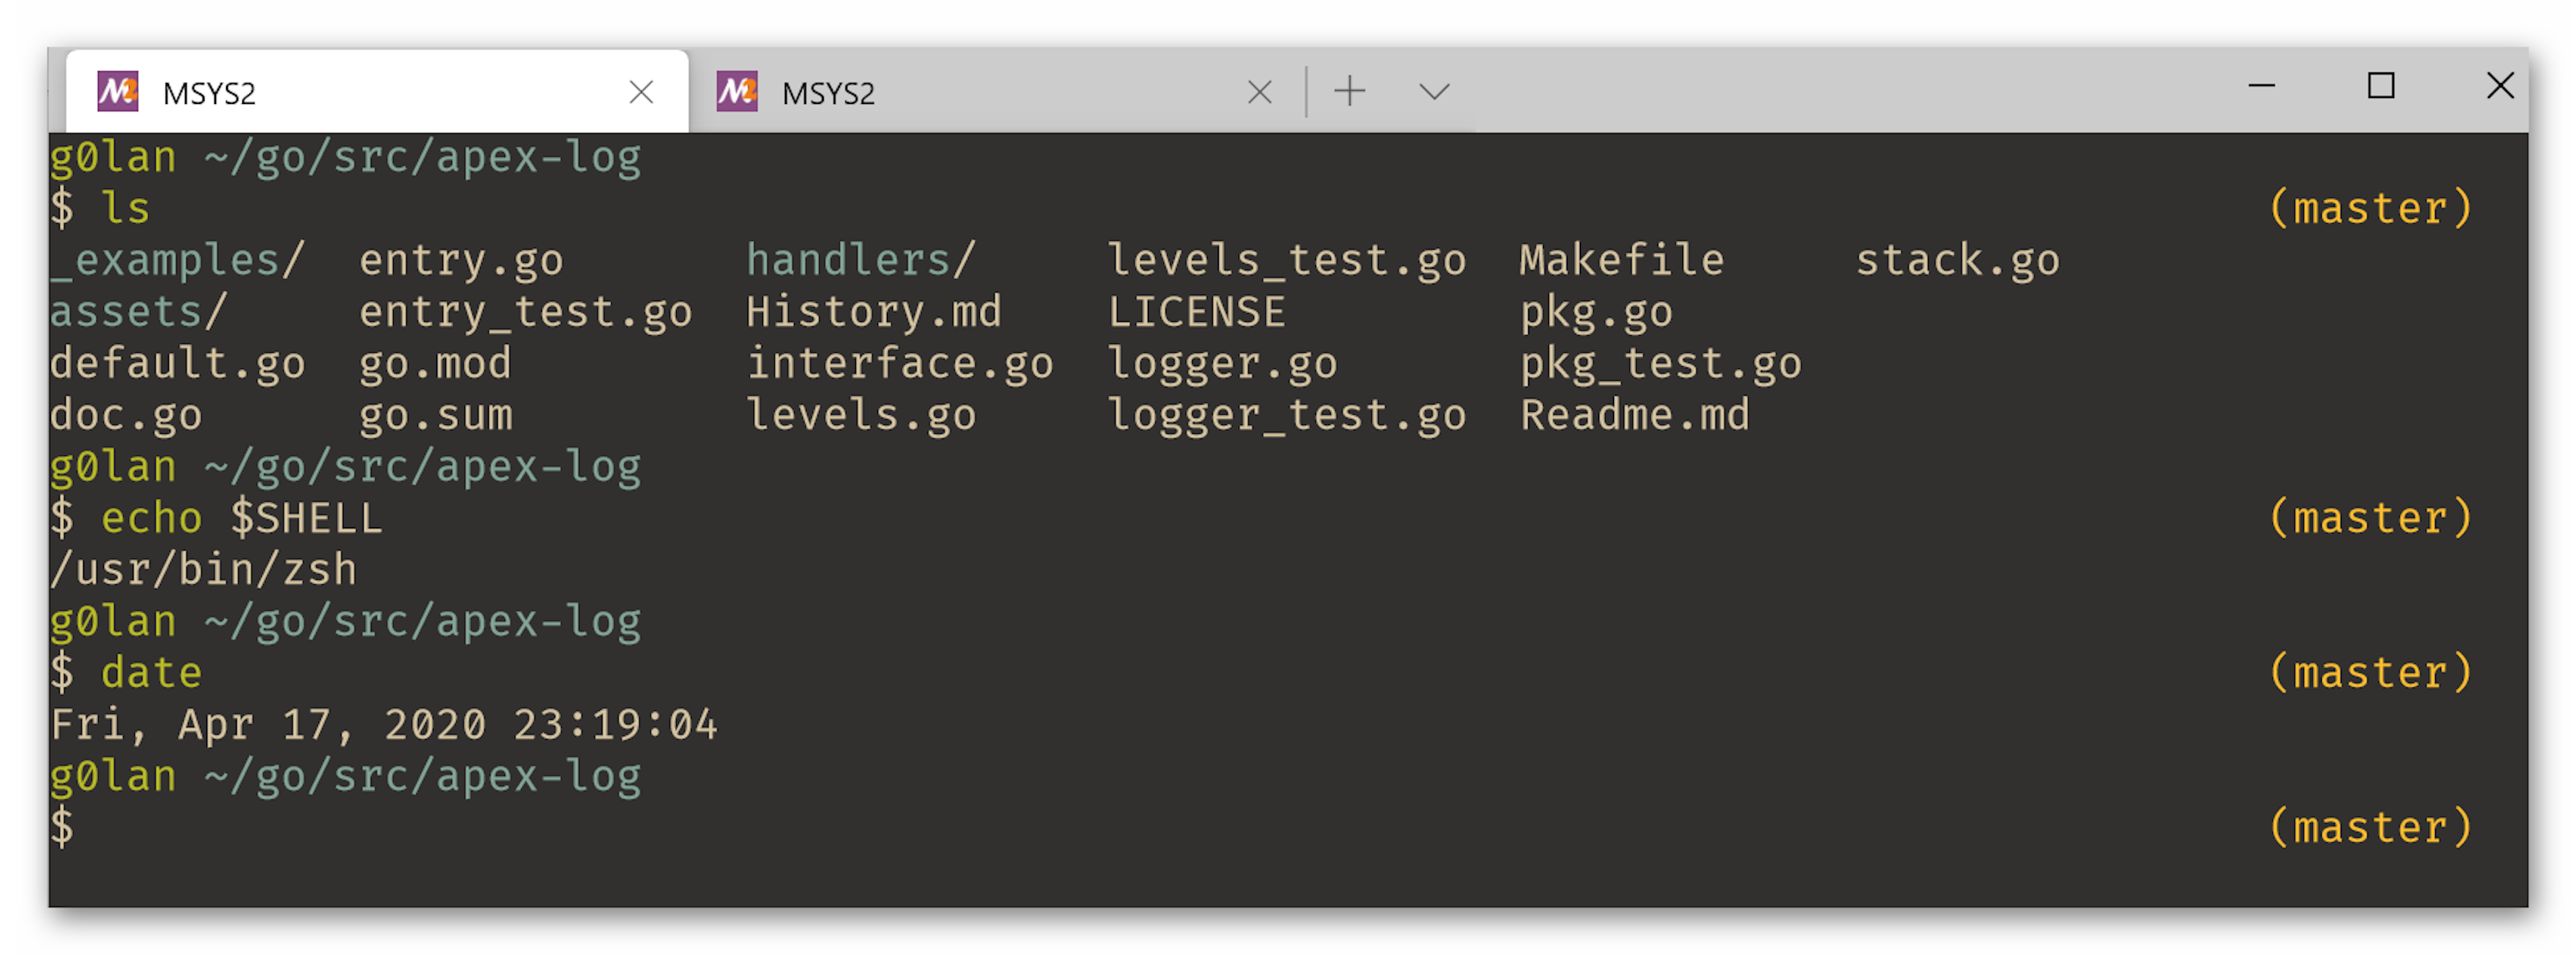
好了,配置好了,我们看看效果:
ZSH配置
ZSH是神器,但是如果不配置好,也不能很好地发挥它的长处。
安装antibody
没错, zsh有很多工具可以用来管理配置。最出名的要数ohmyzsh, 目前github star数量为108K。
但是直接用ohmyzsh还是不太好,因为我们可能还想要加载别的插件。所以,需要一个插件管理器。
Antigen 就是这么一个插件管理器。
Antigen is to zsh, what Vundle is to vim.
虽然作者这样说,但是其实对于vim的插件管理器,老灯要推荐vim-plug。
但是这个插件本身是用shell写的,shell脚本的执行效率,在原生Linux下面可能不是问题,如果在Win10+MSYS2+MinGW64这种环境下,执行效率可能不会那么高了。
因此老灯又找到另一个基于golang的zsh插件管理器: antibody https://github.com/getantibody/antibody
官方宣传语是:
The fastest shell plugin manager. It is faster because it can do things concurrently, while Antigen does it sequentially. It also has the advantage of using a compiled language instead of a scripting one.
官方描述也告诉了我们antibody更快的原因: 它更快是因为它可以并行处理,而Antigen只能顺序执行。
同时它还具有使用编译语言(antibody采用的是golang实现,一种非常高效的静态编译语言) 而不是脚本语言(antigen采用的是纯shell实现)的优点。
不过,antibody官方并不支持windows. 因为antibody实际上是zsh的一个扩展管理器。 像我们这样,在windows上面以zsh作为shell的人,还是比较少的。 因此,无灯花了一些时间进行了一些“魔改“,使得antibody可以很好地在 msys2 mingw64 + zsh 的环境下工作。
我已经编译好了windows 64位的: https://f.nanodm.net/Windows/shell/zsh/antibody.exe
可以下载之后放到PATH路径下,比如C:\msys64\usr\bin下面都可以的。
编辑 .zshrc , 老灯的.zshrc配置内容如下:
# Created by HuangYeWuDeng

autoload -Uz compinit
compinit

# prompt config
export AGKOZAK_PROMPT_DIRTRIM=10
#export AGKOZAK_MULTILINE=0

# Load antibody
# export ANTIBODY_HOME=/c/Users/hacklog/.antibody
source <(antibody init)
antibody bundle < ~/.zsh_plugins.txt


[ -e ~/.zsh_alias ] && source ~/.zsh_alias
[ -e ~/.zsh_compatible ] && source ~/.zsh_compatible


alias so='source ~/.zsh_alias'

#golang
export GO111MODULE=on
export PKG_CONFIG_PATH=/usr/local/lib/pkgconfig:$PKG_CONFIG_PATH
我的.zsh_alias配置内容如下:
 alias less='less -r'                          # raw control characters
 alias whence='type -a'                        # where, of a sort
 alias grep='grep --color'                     # show differences in colour
 alias egrep='egrep --color=auto'              # show differences in colour
 alias fgrep='fgrep --color=auto'              # show differences in colour
#
# Some shortcuts for different directory listings
 alias ls='ls -hF --color=tty'                 # classify files in colour
 alias dir='ls --color=auto --format=vertical'
 alias vdir='ls --color=auto --format=long'
 alias ll='ls -l'                              # long list
 alias la='ls -A'                              # all but . and ..
 alias l='ls -CF'                              #
我的 .zsh_plugins.txt (这个是antibody的配置文件,在家目录下,即跟.zshrc 在同一目录)文件内容如下:
#oh my zsh
#robbyrussell/oh-my-zsh path:plugins/aws

zsh-users/zsh-syntax-highlighting
zsh-users/zsh-completions
#see https://medium.com/@borekb/zsh-via-msys2-on-windows-3964a943b1ce
#asynchronous, dynamic color Git prompt for zsh https://github.com/agkozak/agkozak-zsh-prompt
#agkozak/agkozak-zsh-prompt
#https://github.com/borekb/agkozak-zsh-theme/tree/prompt-customization
#borekb/agkozak-zsh-theme branch:prompt-customization
https://bitbucket.org/ttys3/agkozak-zsh-prompt.git
这里老灯只启用了3个扩展,一个高亮,一个自动完成的,还有一个prompt.
这个 agkozak ZSH Prompt 是异步prompt里唯一支持windows下的zsh的
为什么要异步的?比如prompt经常会显示一些git信息,这些实际上是要执行git命令来获取到的,对于同步的prompt,这些可能造成卡顿。
如果要加载 oh-my-zsh 的扩展,则格式如下:
robbyrussell/oh-my-zsh path:plugins/插件目录名称
比如ArchLinux插件 https://github.com/robbyrussell/oh-my-zsh/tree/master/plugins/archlinux 写成:
robbyrussell/oh-my-zsh path:plugins/archlinux
(注:这里只是举例,实例上我们不可能会需要在Windows里用到archlinux的这个插件的)
其它有用的插件:
# https://github.com/ohmyzsh/ohmyzsh/tree/master/plugins/git
robbyrussell/oh-my-zsh path:plugins/git

# https://github.com/ohmyzsh/ohmyzsh/tree/master/plugins/cargo
robbyrussell/oh-my-zsh path:plugins/cargo

# https://github.com/ohmyzsh/ohmyzsh/tree/master/plugins/composer
robbyrussell/oh-my-zsh path:plugins/composer

# https://github.com/ohmyzsh/ohmyzsh/tree/master/plugins/kubectl
robbyrussell/oh-my-zsh path:plugins/kubectl

# https://github.com/ohmyzsh/ohmyzsh/tree/master/plugins/yarn
robbyrussell/oh-my-zsh path:plugins/yarn
最后,文章有点长,如有错误,欢迎指正。
本文参考
https://github.com/microsoft/terminal
https://github.com/msys2/MSYS2-packages/issues/1684
https://github.com/microsoft/terminal/issues/1669#issuecomment-562082594
https://github.com/ShiromMakkad/base16-windows-terminal
https://github.com/microsoft/terminal/blob/master/doc/user-docs/UsingJsonSettings.md
https://github.com/microsoft/terminal/blob/master/doc/cascadia/SettingsSchema.md
https://github.com/microsoft/terminal/tree/master/src/tools/ColorTool
https://github.com/microsoft/terminal/tree/master/doc/user-docs
https://github.com/microsoft/terminal/blob/master/doc/user-docs/ThirdPartyToolProfiles.md#msys2